

Compress image
Make a JPG, PNG or WebP image smaller, or fit it under an upload limit such as 50 KB, and see the real size before you download.
- Free, no sign-up
- Files stay on your device
- JPG, PNG or WebP / up to 25 MB
Step by step
How to compress an image
Step 1: Drop a JPG, PNG or WebP image on the box above, or select Choose file.
Step 2: Under Compress by, keep Quality and pick one (75 is a good start), or choose Target size and enter the largest file size allowed.
Step 3: Select Compress image, check the before and after sizes, then select Download image.
Worked example
A web-sized photo at quality 75
We compressed a 1600 × 1200 pixel landscape photo of 501 KB at quality 75. The result was 202.2 KB, 60% smaller, with the same width and height.
For a 100 KB upload limit, a 1200 × 900 pixel photo of oak leaves (193 KB) went to 63.8 KB at quality 70. In both cases resizing came first; compressing a full-size phone photo alone saves much less.
With Target size and a 50 KB limit, a 3882 × 2912 photo of a fjord (2.9 MB) came out at 48.7 KB: the tool chose quality 50 and 971 × 728 pixels. With a 20 KB limit, a 3720 × 2790 photo of oak leaves (5.4 MB) became 19.5 KB at 652 × 489 pixels and quality 60. Each took 5 to 6 seconds on a desktop PC (measured 29 Oct 2026).
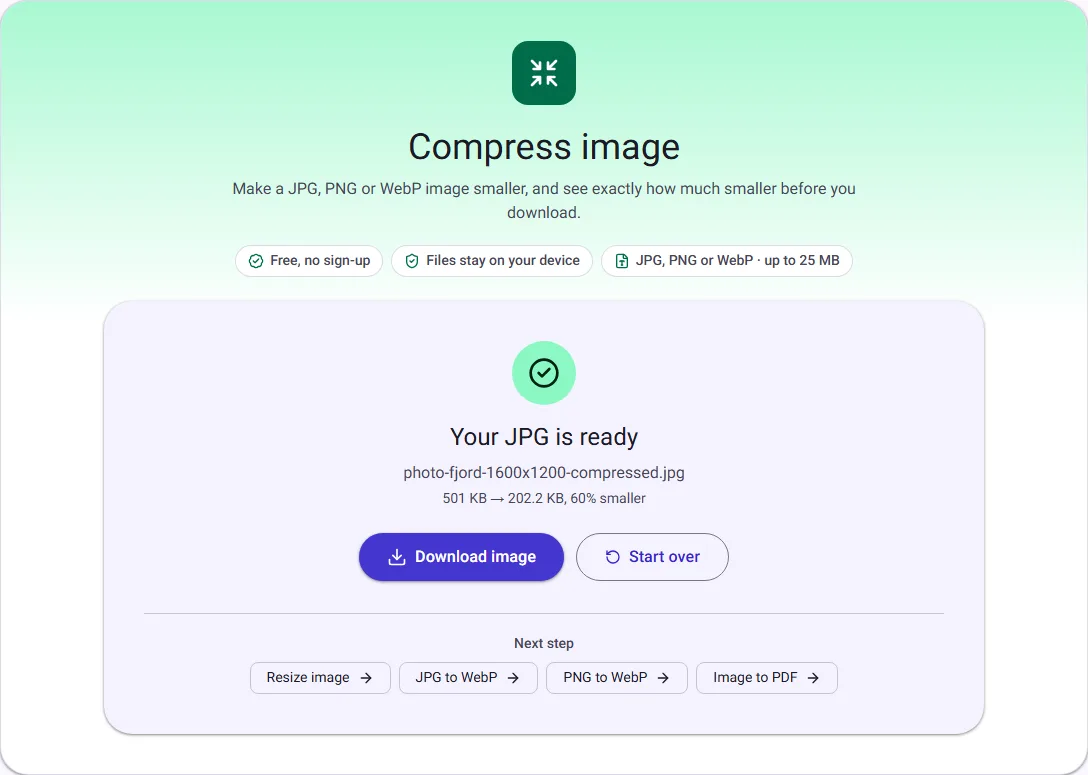
We ran this ourselves on 17 October 2026 with public-domain sample files. Your sizes will differ with your own files. The full walk-through is in How to Reduce Image Size for a Website.
What each setting does
Same format keeps a JPG as JPG, a PNG as PNG and a WebP as WebP. For JPG and WebP, the quality slider decides how much detail is traded for size: 75 usually looks close to the original at a much smaller size, 60 is smaller still with visible softening in fine detail.
PNG files stay PNG and are re-saved with OxiPNG, which searches for a more efficient way to store the same picture without adding compression artefacts. The saving is often modest. If a PNG is a photo, choosing JPG or WebP as the output usually shrinks it far more; WebP also keeps transparency.
Fitting an upload limit with Target size
Exam, job and government portals often accept a photo only under a limit such as 20, 50 or 100 KB. With Target size, the tool tries qualities from 92 down to 40 and keeps the highest one whose file fits. Below quality 40, JPG and WebP photos turn blocky, so if even that is too large, the tool reduces the width and height instead and searches again. The result card shows the quality used and the new pixel size, if it changed.
We count 1 KB as 1,000 bytes. Some forms count 1,024, so a file under 50,000 bytes fits either way. The file is never larger than the limit you set.
PNG has no quality setting, so for a PNG only the pixel size can change. If the form accepts JPG, choose JPG as the output: a photo keeps far more pixels at the same limit.
Check the form's other rules too. Many also ask for exact pixel dimensions or a format; resize the image first if they do.
Honest results
With Quality, the tool compresses your image and then shows the real size before and after. The saving depends on the image: a photo straight from a phone may shrink a lot, while an image that was already compressed may barely change.
If the settings you chose do not make the file smaller, the result says so plainly. In that case keep your original, or try a lower quality or a different format.
Also removed: hidden metadata
Photos often carry camera details, thumbnails and colour notes that take space. The compressed image is created from the pixels only, so that data, including GPS location, is left out. Colours are converted to standard sRGB so the image looks the same on other screens.